Are you tired of constantly rummaging through your purse to find your makeup essentials? Well, why not make your own stylish and functional makeup bag? Not only will it keep your cosmetics organized, but it can also be a fun and creative project to undertake. Whether you’re a novice or a seasoned seamstress, sewing your own makeup bag allows you to personalize it according to your unique style and preferences.
When it comes to sewing a makeup bag, there are a few key aspects to consider. Firstly, you’ll want to select a durable and easy-to-clean fabric that can withstand the wear and tear of daily use. Secondly, having multiple compartments and pockets will help keep your makeup items neatly organized and easily accessible. Lastly, don’t forget to incorporate a secure closure, such as a zipper or a drawstring, to ensure that your makeup stays safely stored. By following these steps, you can create a practical and beautiful makeup bag that meets all your needs.
If you’re looking to create your own makeup bag, here’s a step-by-step guide to sewing one from scratch. Begin by choosing your desired fabric and cutting out the pattern pieces. Then, sew the main body and lining together, leaving a small opening for turning. Attach the zipper, and finish by sewing the sides and bottom. Voila! You now have your very own custom-made makeup bag. Enjoy organizing your cosmetics in style!

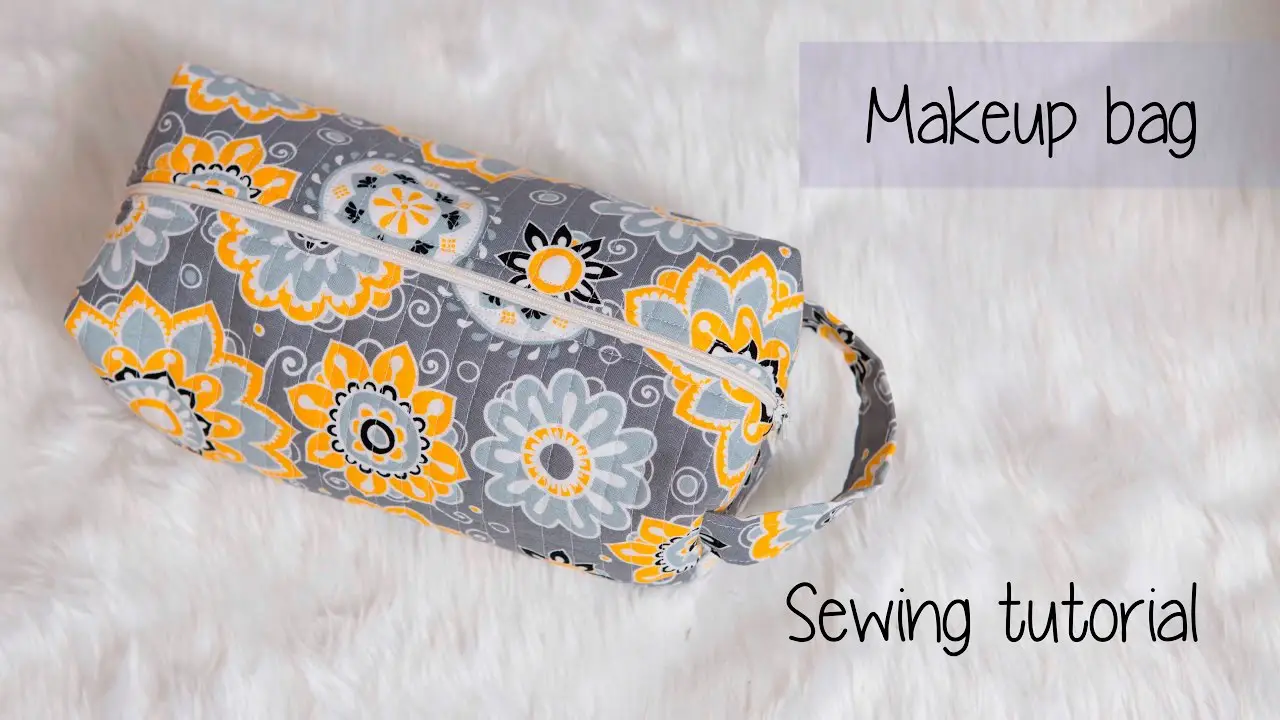
How to Sew a Makeup Bag
Are you tired of struggling to find your makeup every time you need it? Sewing your own makeup bag can solve this problem and give you a stylish and personalized storage solution. In this article, we will guide you through the process of sewing a makeup bag from scratch. Whether you’re a beginner or an experienced sewer, this step-by-step guide will help you create a beautiful and functional makeup bag.
Choosing the Right Fabric
The first step in sewing a makeup bag is to choose the right fabric. You want something durable that can withstand the weight of your makeup and is easy to clean. Cotton or canvas fabrics are good options for makeup bags, as they are sturdy and can be easily customized with patterns or colors that reflect your personal style.
When selecting the fabric, consider its weight and texture. You want a fabric that will hold its shape and not stretch or sag over time. Additionally, look for a fabric that is easy to work with and doesn’t fray easily.
Once you have chosen the fabric, wash and iron it before starting your sewing project. This will help ensure that the fabric is clean and free of any wrinkles or creases.
Gathering the Necessary Supplies
Before you start sewing, gather all the necessary supplies. Here is a list of what you will need:
- Fabric
- Thread
- Scissors
- Pins
- Zipper
- Lining fabric
- Interfacing
- Sewing machine or needle and thread
| Fabric | 1 yard |
| Thread | Matching color |
| Scissors | 1 pair |
| Pins | A handful |
| Zipper | 1 |
| Lining fabric | 1 yard |
| Interfacing | 1 yard |
| Sewing machine or needle and thread | Depending on your preference |
Make sure you have all these items on hand before you begin sewing to ensure a smooth process.
Cutting and Preparing the Fabric
Once you have your fabric and supplies ready, it’s time to cut and prepare the fabric for sewing. Follow these steps:
1. Cut two rectangles of fabric measuring 12 inches by 7 inches for the exterior of the makeup bag.
2. Cut two rectangles of lining fabric measuring 12 inches by 7 inches for the interior of the makeup bag.
3. Cut two rectangles of interfacing measuring 12 inches by 7 inches. This will provide structure and stability to the makeup bag.
4. Cut a strip of fabric measuring 12 inches by 2 inches for the binding of the zipper.
5. Cut a pocket from the lining fabric measuring 6 inches by 4 inches for storing smaller items like brushes or lipsticks.
After cutting the fabric, iron the interfacing onto the wrong side of the exterior fabric. This will help reinforce it and prevent the makeup bag from losing its shape.
Sewing the Makeup Bag
Now that you have prepared the fabric, it’s time to start sewing the makeup bag. Follow these steps:
1. Take the two rectangles of exterior fabric and place them right sides together. Pin them in place.
2. Sew the sides and bottom of the fabric rectangles using a 1/4-inch seam allowance. Leave the top open.
3. Repeat steps 1 and 2 for the lining fabric, but this time leave a 3-inch opening at the bottom for turning the bag right-side out later.
4. Turn the exterior fabric right-side out and press the seams. Repeat for the lining fabric.
5. Insert the lining fabric into the exterior fabric, aligning the side seams. Pin the top edges together.
6. Sew a 1/4-inch seam along the top edge of the bag, securing the lining and exterior fabric together.
7. Turn the bag right-side out through the opening in the lining fabric. Press the seams and hand-stitch the opening closed.
8. Sew the pocket onto the lining fabric, positioning it as desired. This will create a separate compartment for storing smaller items.
9. Cut the zipper to size and sew the fabric strip onto both ends of the zipper. This will create a finished look and provide a smooth opening and closing mechanism for the makeup bag.
Finishing Touches
Your makeup bag is almost complete! All that’s left is to add some finishing touches:
1. Trim any loose threads and give the bag a final press with the iron to ensure it looks polished.
2. You can add additional embellishments or decorations if desired, such as bows, buttons, or embroidery.
3. Finally, fill your new makeup bag with your favorite cosmetics and enjoy the convenience and style of your handmade creation!
Is Sewing a Makeup Bag Worth It?
Absolutely! Sewing a makeup bag allows you to create a personalized and functional storage solution for your cosmetics. Here are some advantages of sewing your own makeup bag:
1. Customization: You can choose the fabric, pattern, and design that perfectly reflects your personal style.
2. Quality: When you sew your own makeup bag, you have control over the materials used and can ensure it is made to last.
3. Unique and Stylish: Your handmade makeup bag will be one-of-a-kind and showcase your creativity.
4. Cost-effective: Sewing your own makeup bag can be more cost-effective than purchasing one from a store, especially if you already have some of the supplies on hand.
5. Sense of Accomplishment: Finishing a sewing project, such as a makeup bag, can provide a sense of pride and accomplishment.
In conclusion, sewing a makeup bag is a fun and rewarding project that allows you to unleash your creativity and create a functional and personalized storage solution for your cosmetics.
Key Takeaways: How to Sew a Makeup Bag
- Choose a fabric that is durable and easy to clean.
- Measure and cut the fabric into two rectangles according to the desired size of the bag.
- Sew the two rectangles together, leaving a small opening for turning the bag right side out.
- Turn the bag right side out and press it flat with an iron.
- Add a zipper or drawstring closure to secure the contents of the bag.
Frequently Asked Questions
Are you interested in learning how to sew a makeup bag? You’ve come to the right place! In this section, we will answer some of the frequently asked questions about sewing a makeup bag. Whether you’re a beginner or an experienced seamstress, these questions will provide you with valuable information to create your own stylish and functional makeup bag.
1. What materials do I need to sew a makeup bag?
To sew a makeup bag, you will need the following materials:
- Fabric for the outer layer
- Lining fabric
- Interfacing (optional for added structure)
- Zippers or button closures
- Thread
- Scissors
- Pins or clips
- Sewing machine (or needle and thread for hand sewing)
These materials will ensure you have everything you need to create a beautiful and functional makeup bag.
2. How can I choose the right fabric for my makeup bag?
When choosing fabric for your makeup bag, consider the following:
- Sturdy and durable fabric, such as canvas or denim, for the outer layer
- Soft and smooth fabric, such as cotton or satin, for the lining
- Consider waterproof or easy-to-clean fabrics for added functionality
- Select a fabric that matches your personal style and preferences
By considering these factors, you can select fabric that not only looks great but also meets your needs.
3. What are the basic steps to sew a makeup bag?
The basic steps to sew a makeup bag include:
- Prepare the fabric and cut it into the desired size and shape
- Sew the lining and outer layer separately
- Attach the zipper or button closure
- Sew the lining and outer layer together
- Finish the edges and add any additional embellishments
By following these steps, you can create a customized makeup bag that suits your preferences.
4. Can I sew a makeup bag by hand?
Absolutely! While using a sewing machine may offer faster results, you can also sew a makeup bag by hand. Simply gather the necessary materials and follow the same steps, but instead of using a sewing machine, use a needle and thread to stitch the fabric together. This method may take longer, but it allows for more precision and control.
5. Are there any additional tips for sewing a makeup bag?
Here are some additional tips to keep in mind when sewing a makeup bag:
- Take accurate measurements and cut the fabric precisely to ensure the bag’s desired size
- Consider adding pockets or compartments to organize your makeup and brushes
- Experiment with different closures, such as drawstrings or snaps, for a unique touch
- Add a layer of interfacing to the outer fabric for added structure
- Don’t be afraid to get creative and add decorative elements like embroidery or applique
By following these tips, you can elevate your makeup bag and create something truly special.

DIY Easy Makeup Bag | Cosmetic Pouch Sewing Pattern & Tutorial [sewingtimes]
To sew a makeup bag, start by choosing a fabric that you like and cutting it into two rectangular pieces. Then, fold the top edges of both pieces and sew them down to create a clean hem. Next, place the two fabric pieces right sides together and sew along the sides and bottom, leaving the top open.
Turn the bag right side out and fold the top edge down to create a cuff. Sew along the folded edge to secure the cuff in place. Finally, add a zipper or button closure to the top of the bag to keep your makeup items secure. You now have a handmade makeup bag that is ready to use!


Leave A Comment